How to build your own dashboard
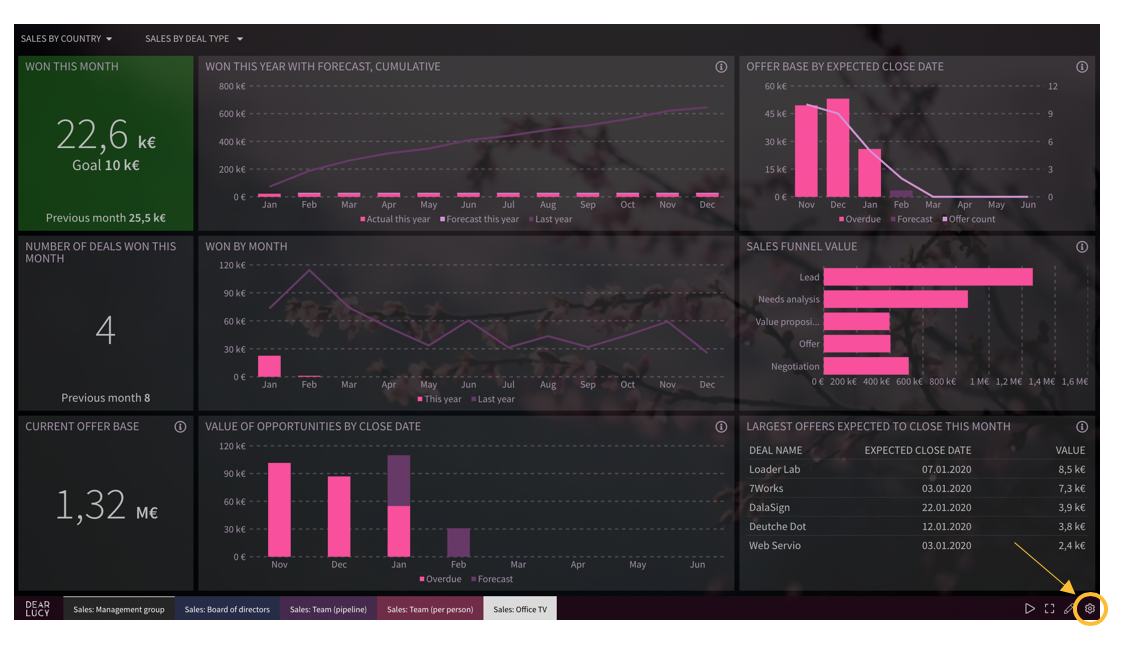
1. Access Settings by pressing the cogwheel in the bottom right corner.
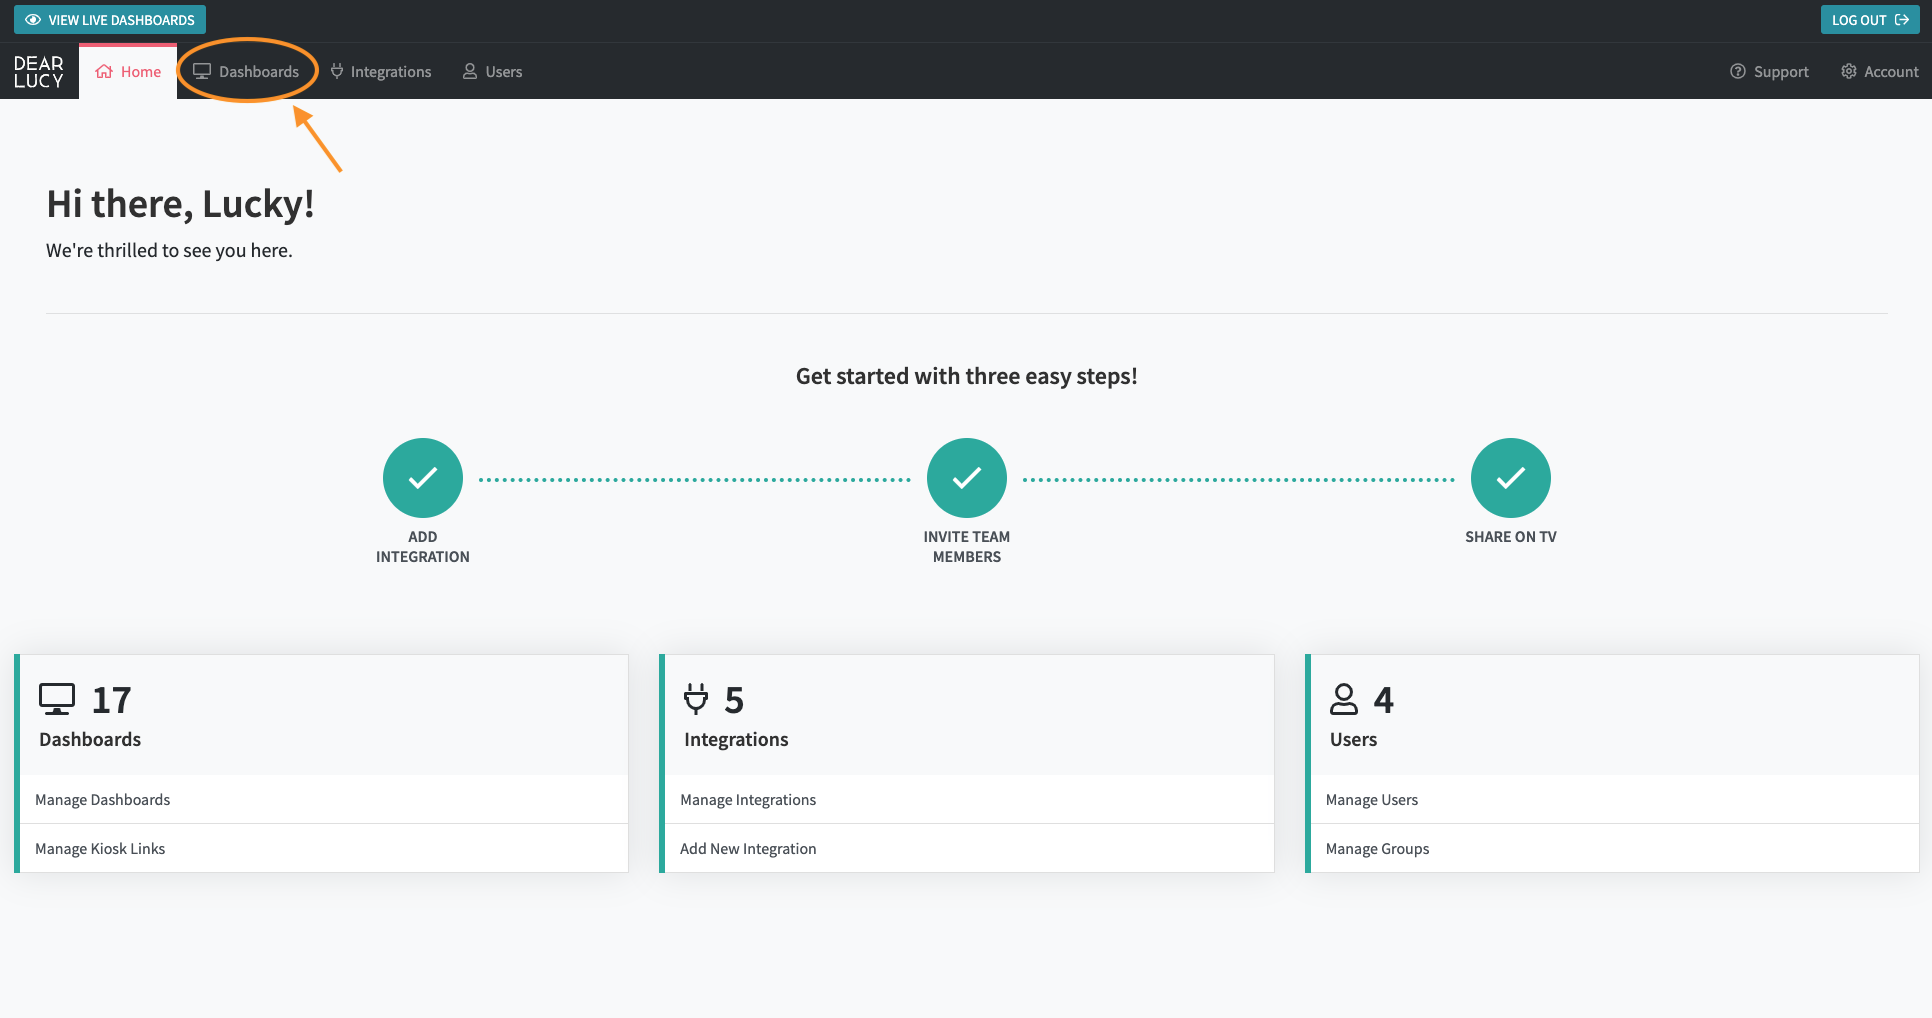
2. Once in the Settings home page, press the "Dashboards" button from the menu on the top.
3. Press "+ Add dashboard" from the top right corner.
4. A pop-up window will appear where you can choose a title, color theme and background picture for the new dashboard. If you're creating a dashboard for the purpose of a monthly management team meeting, you can e.g. call it Management meeting, and choose a background picture with a logo of your business.
5. The new dashboard will show up in the list of dashboards, click it to enter the dashboard editing view.

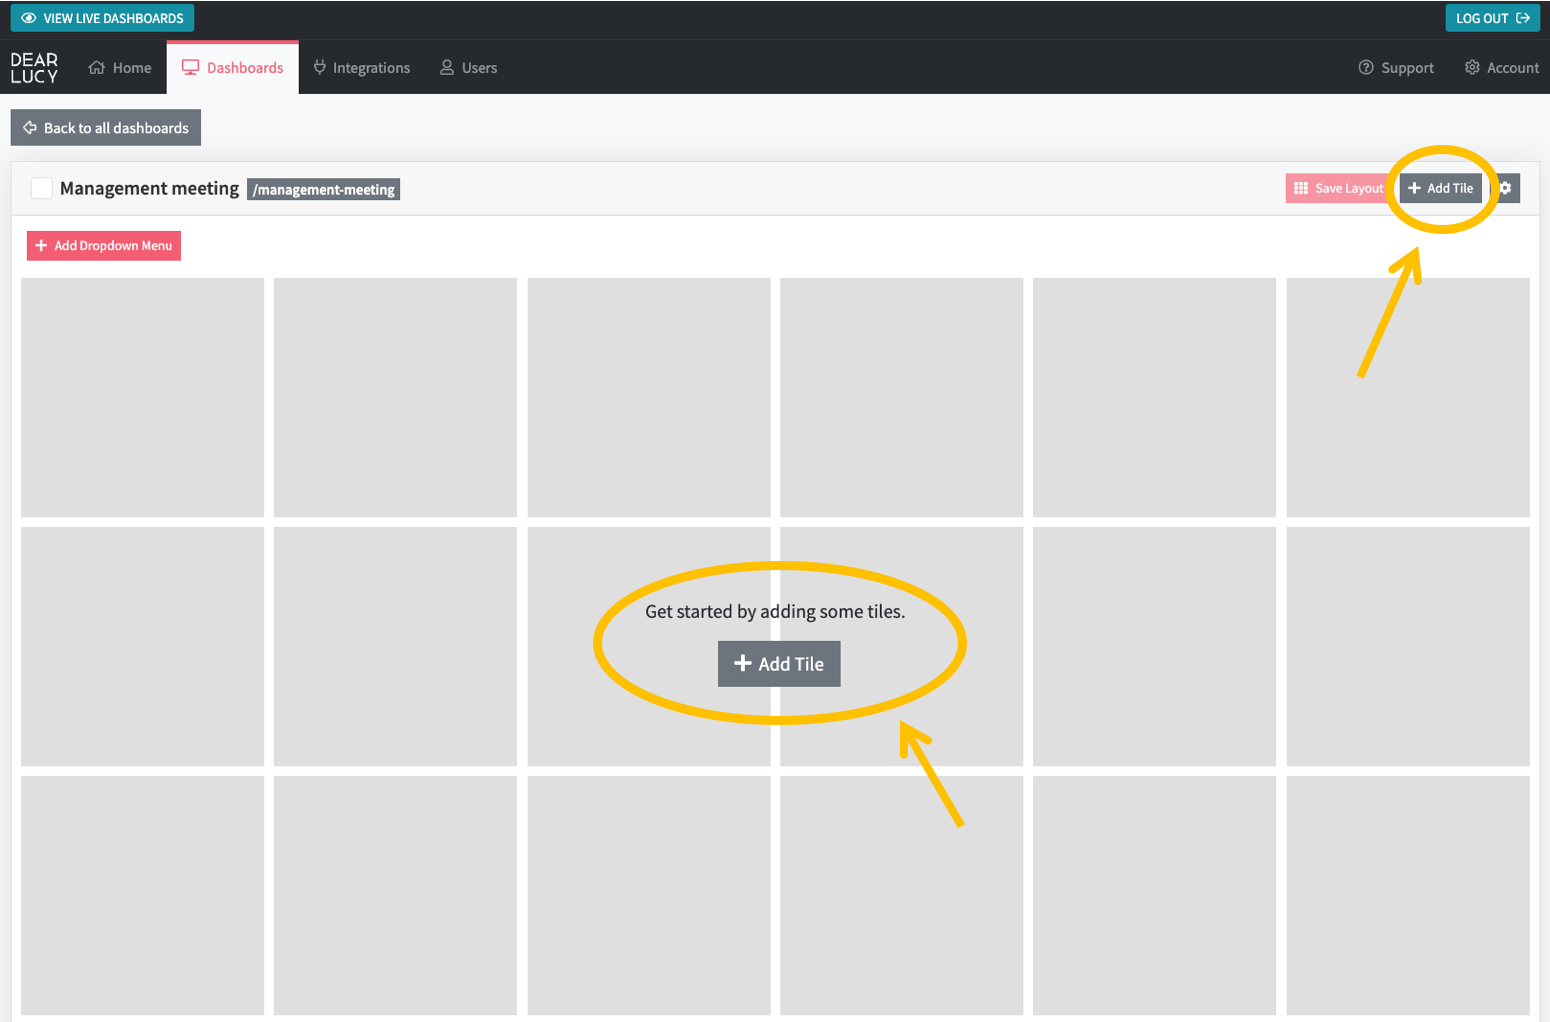
6. Press "+ Add Tile" to access your library of available metrics and KPIs. If you have more than one integration running, the metrics are organized by integration and you can combine metrics from different integrations to the same dashboard. Press the plus sign on the metrics that you want to follow up on in your management team meeting.

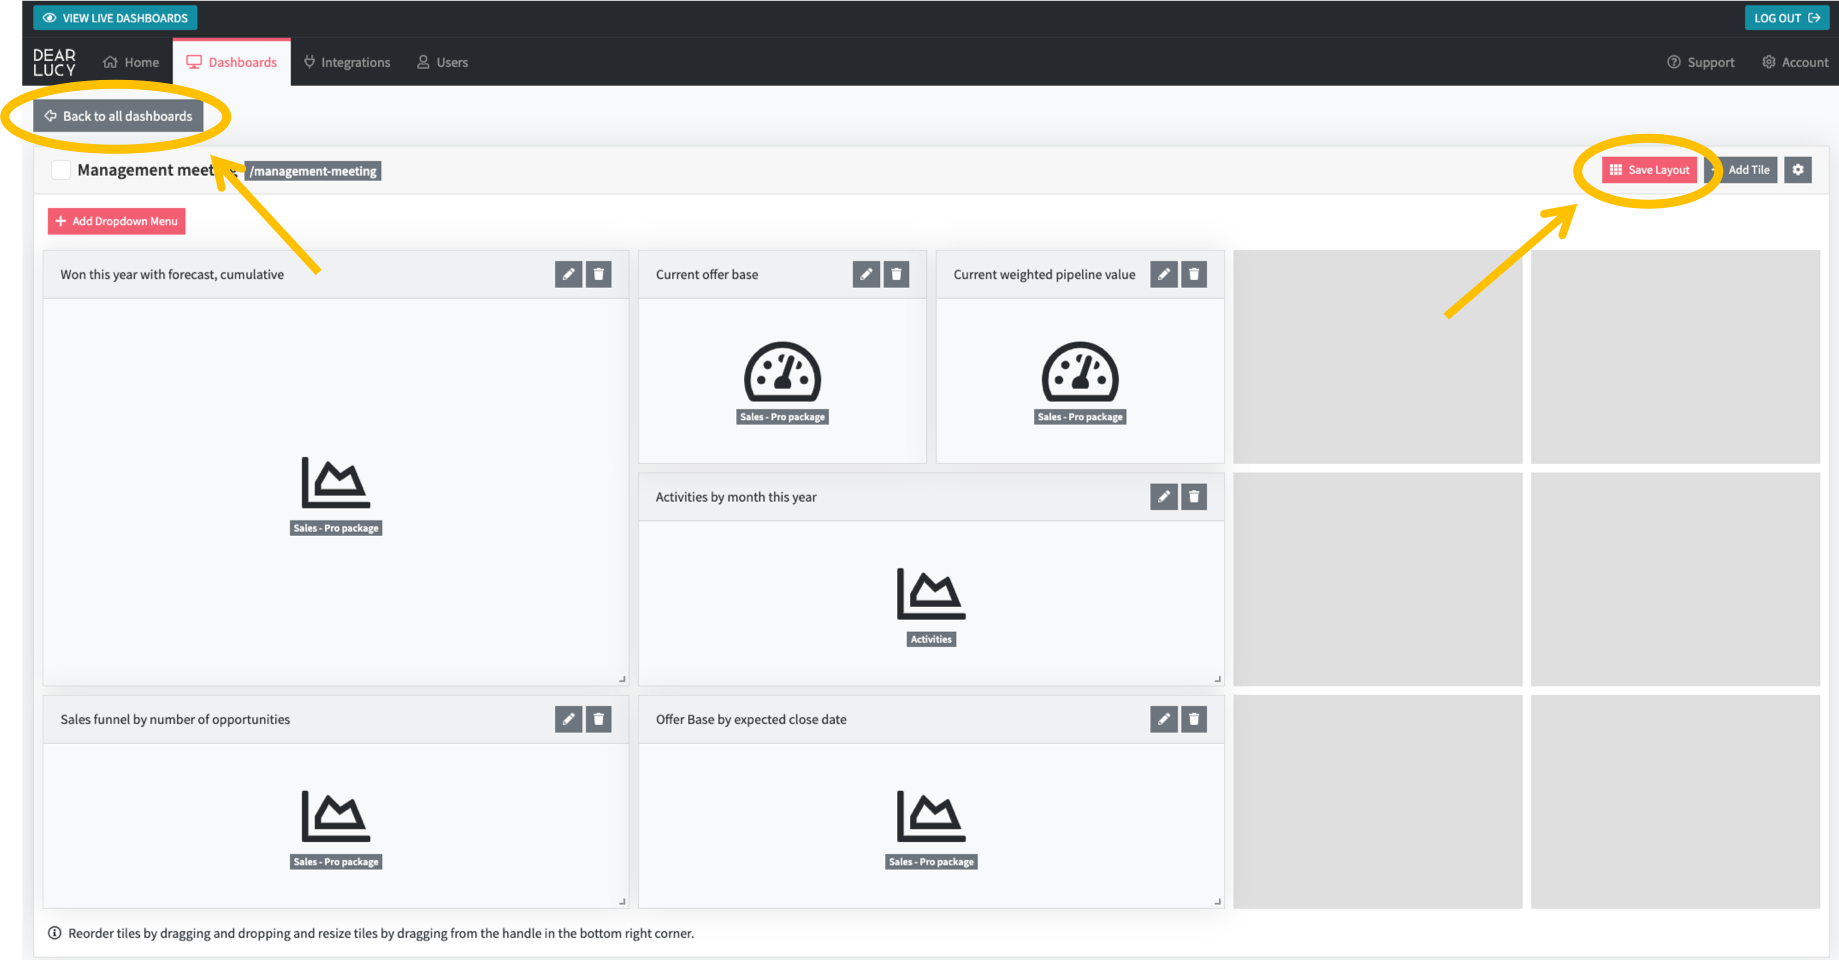
7. Once you have selected your preferred metrics for the management team meeting, remember to press "Save Layout" to save your changes. Then press "Back to all dashboards" to access the full list of your dashboards.
Please note: If you have created your own user groups, the newly created dashboard will not be visible to anyone until it has been assigned to a User Group. If you have not created any User Groups it will be automatically added to the default group "Public" and will be visible to all users in that group.
Comments
0 comments
Article is closed for comments.